Client quotes for Standard projects
- Former user (Deleted)
A quote can be created before work is accepted or completed. Quotes provide a general estimate of costs based on work to be completed and configured pricing information.
For a system generated quote to be accurate, it is important to have a defined pricelist, an uploaded document marked for translation, and the word count completed. This information will be used along with the cost per task (i.e. translation, revision, etc.) to ensure a proper quote is generated for the project.
The process for generating a quote is different depending on the type of project:
Standard Projects
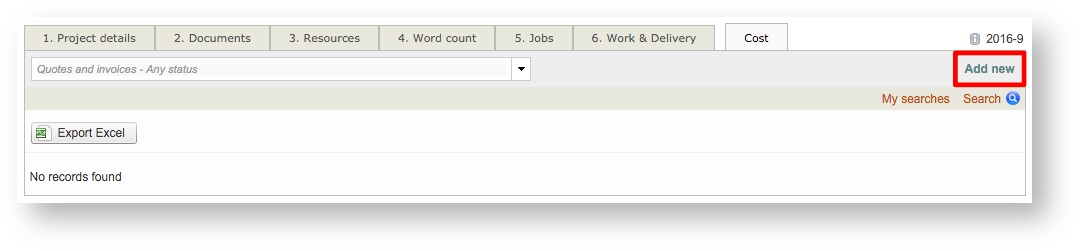
First, access the Costs Tab for the project. If no quotes exist for the standard project, the screen will appear as shown below. To create an quote for a client, first click on Add New in the upper right corner of the screen.
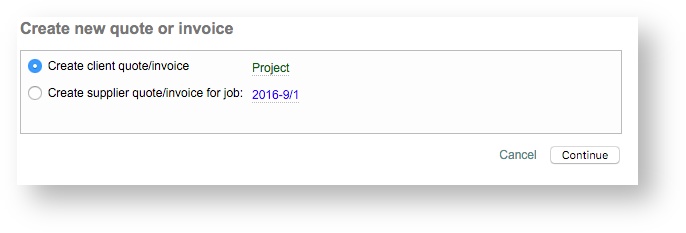
Then tick the radial next to Create client quote/invoice and click on Continue.
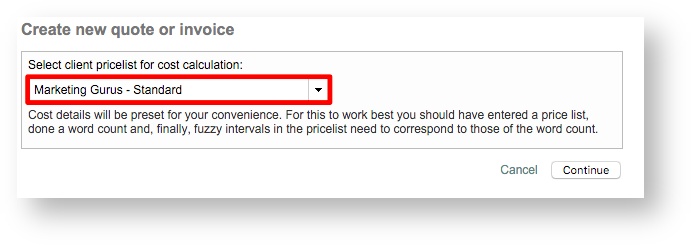
Next, choose a pricelist from the drop-down menu and click on Continue. The pricelist will be used to generate the costs for the quote based on fuzzy match discounts, configured rates, etc. Make certain the appropriate pricelist is selected. Note that the information can be modified at a later time if needed.
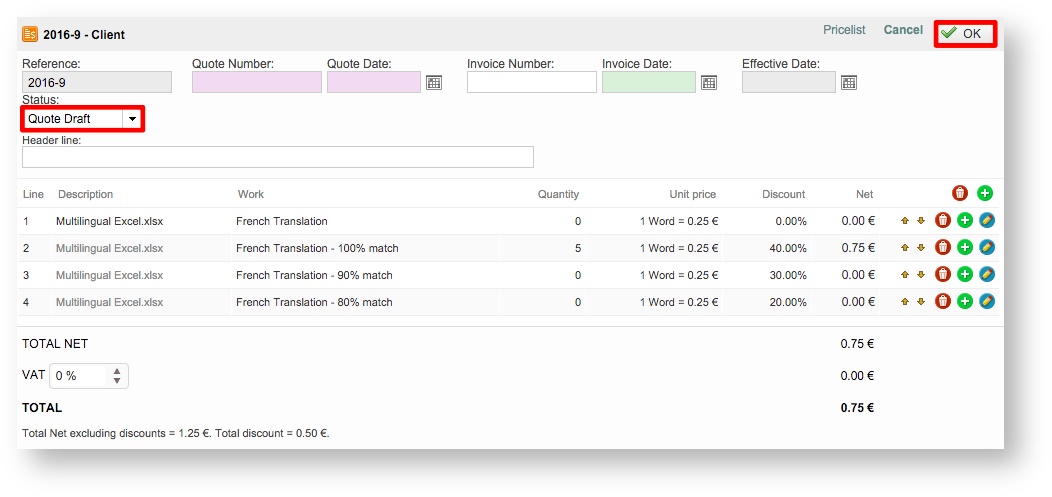
The quote information will appear as shown below. Be certain to review the pricing information to ensure it is correct. A drafted quote will show all work for the project along with any applied discounts for fuzzy matches. The total cost is displayed at the bottom of the invoice.
To the right of each displayed line, additional options are provided for managing each line in the quote. Click on the Trash Can to remove the line or the Add ![]() to add a line to the quote. If you need to change pricing information, click on the Pencil Icon. Use the Up or Down Arrows to change the position of a line in the quote.
to add a line to the quote. If you need to change pricing information, click on the Pencil Icon. Use the Up or Down Arrows to change the position of a line in the quote.
You may also enter an Quote Number, select an Quote Date, and configure an Effective Date for the drafted quote. If an effective date is not configured, then the current date will be used for the quote. A section is provided for entering an optional Header Line as well. When finished with any needed changes, click on OK in the upper right corner of the pop-up window.
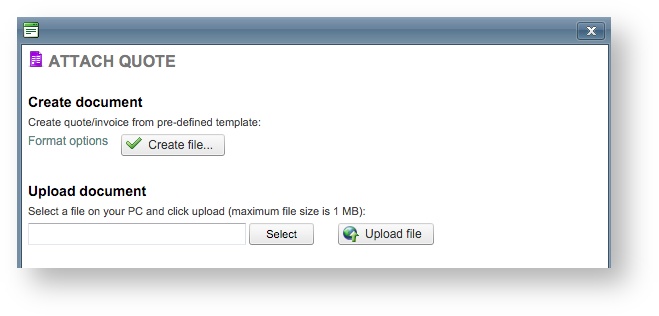
If everything within the quote draft is correct, you will need to attach it to the project. This can be done by clicking on Attach next to Quote in the pop-up window.

A quote may either be created using the template provided by Wordbee Translator or from one that is specific to your company. In the pop-up window, you can either:
- Create File... - This option will populate the draft information into a pre-configured quote template provided by Wordbee. (The example below will show this option.)
- Upload A Company Template - To do so, browse to and select the file. Then click on Upload File and the quote draft information will be populated into the template automatically.
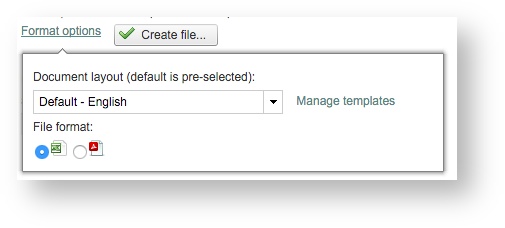
To the left of the Create File... option, you can click on Format Options for the new quote being generated with the template. Here you may choose the document layout and file format for the quote.
Within this pop-up window, you may choose a different language or switch to PDF format. The default selections are English and Excel. After making any needed changes, click on Create File... to continue.
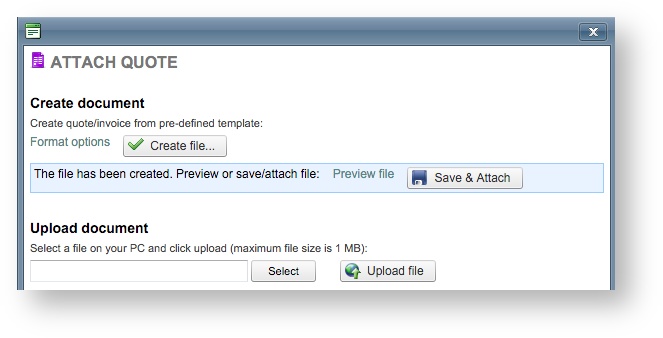
After the quote information has been added to the default Wordbee or selected template and the file has been created, you will be able to preview the quote prior to attaching it by clicking on Preview File.
The file will be downloaded to the computer for viewing. Click on Save & Attach to save the quote and attach it to the project.
Once this is finished, you will see a download option appear next to Quote in the pop-up window. This option may be used at any time to download the new quote for the project. Click on Close to exit the pop-up window.

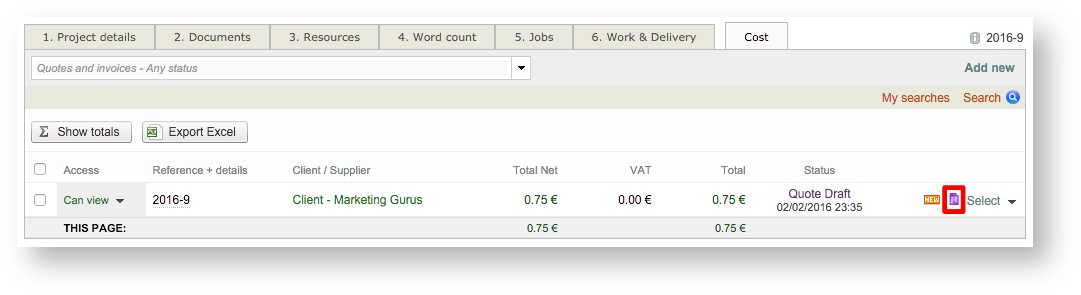
You will automatically be redirected to the Cost Tab for the project. Here you will be able to view the quote, cost, make changes, and download the file. Use the Purple Document Icon to download the Excel File (.xlsx).
CoDyt Projects
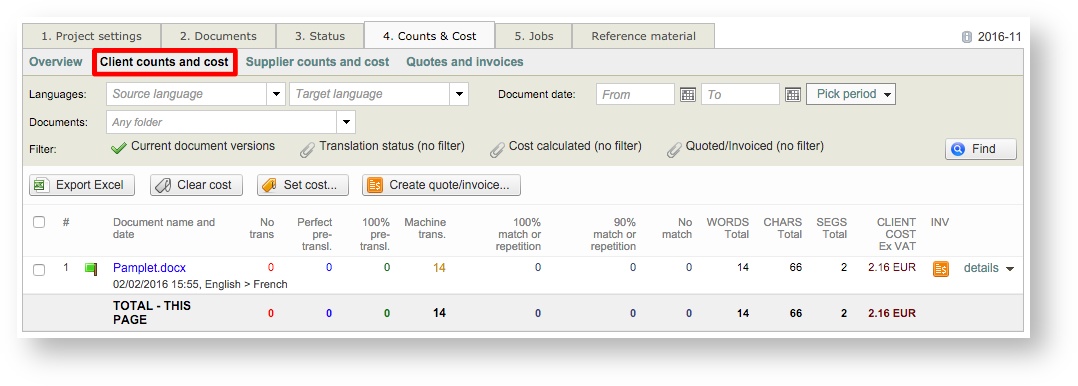
First, access the Counts & Costs Tab for the project. You may click on Quotes & Invoices to see if there are any existing quotes for the project. To create a quote for a client, first click on Client Counts and Cost.
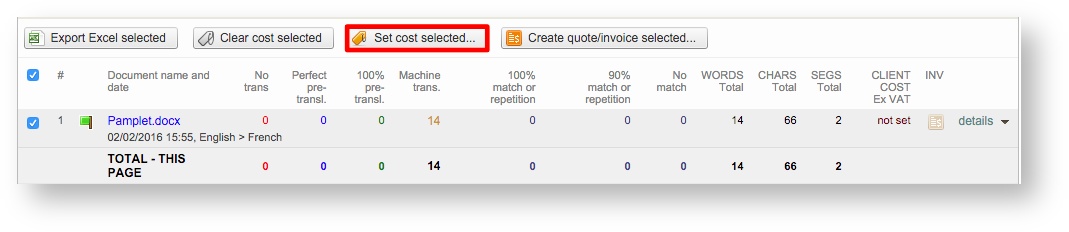
Then tick the checkbox for the appropriate document and click on Set cost selected... This will configure the cost for the document based on performed tasked, total word counts, and any entered discounts.
If a pricelist has been pre-selected in the project for the client, then all you will need to do next is tick the checkbox for the appropriate item(s) and click on OK (# line).
However, if no pricelist is configured for the project, then additional options will need to be configured in the pop-up window before generating the quote.
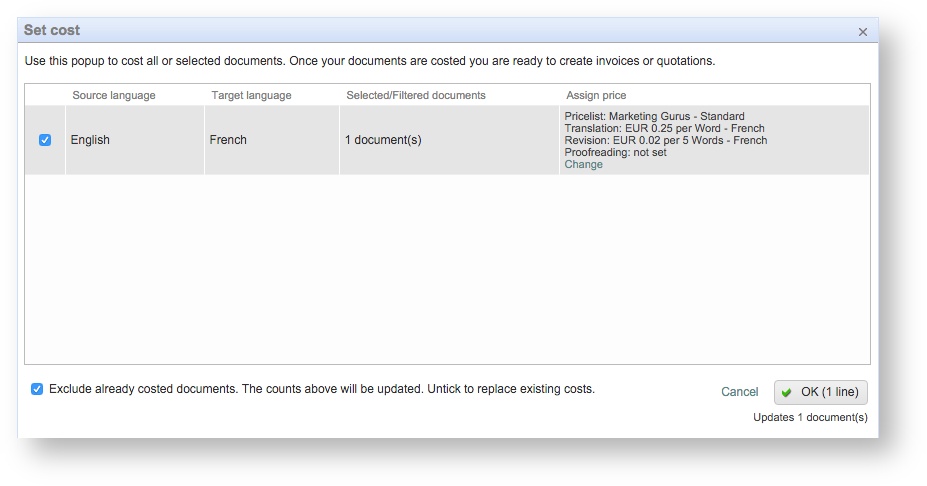
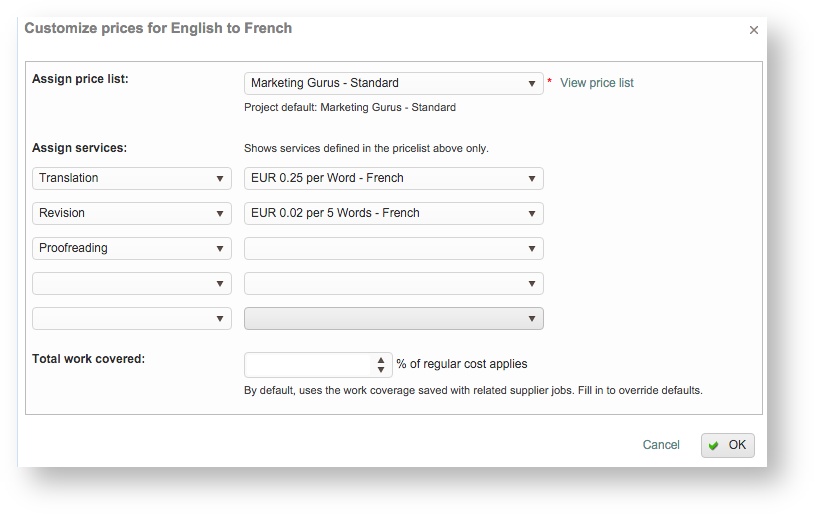
To make changes to the current pricing information, click on Change underneath the Assign Price section and the following pop-up window will appear. Here you can select a different price list, make changes to the assigned services and costs, or enter a percentage of total work covered. Click on OK after making the needed changes.
These changes will be reflected in the screen shown above. Next, tick the checkbox for the appropriate line(s) and click on OK (# line).
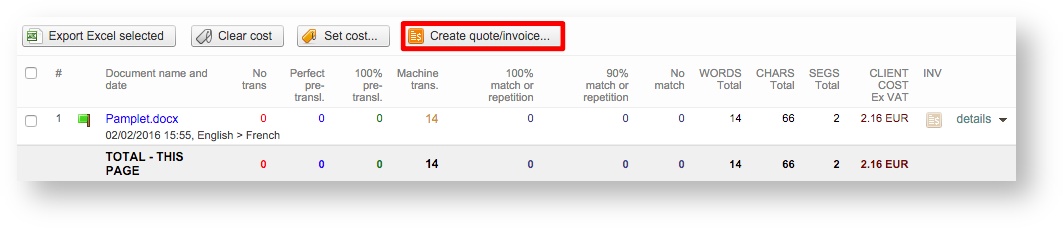
After the cost has been set, you will need to click on Create quote/invoice...
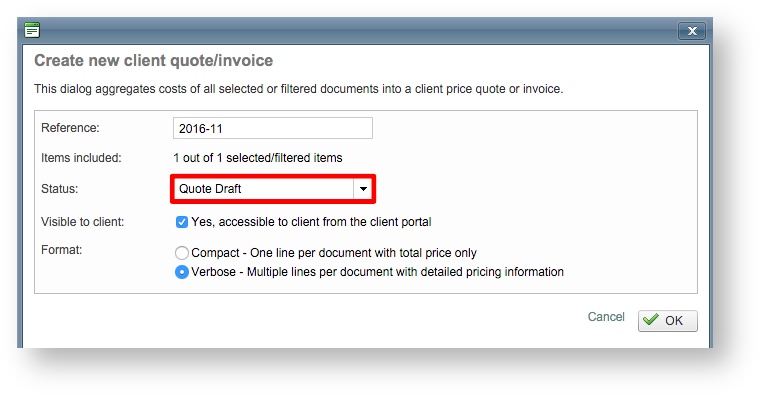
In the pop-up window, make certain that Quote Draft has been selected for the Status (or another applicable option in the drop-down menu).
Next, tick the checkbox for the Yes, accessible to client from the client portal option if you have the client portal and you want the client to be able to view the costing information when logged in. The invoice may be generated in one of two formats:
- Compact - With this option, only a total cost line will be provided.
- Verbose - Every task included as part of the item including applied discounts will be displayed as separate lines in the quote.
Click on OK once the configuration has been finished.
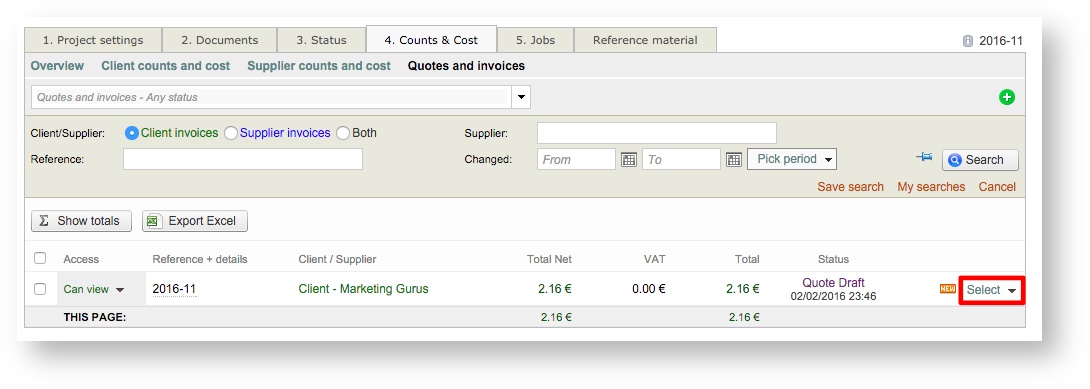
Now you will be able to see the quote underneath Quotes and Invoices on the Counts & Costs Tab for the CoDyt project.
The screen will automatically be refreshed after closing the above pop-up window. Click on Select to view the details of the quote and Attach it as previously shown in the Standard Project example.
Just as with Standard projects, you will need to do the following to finish quote creation in Wordbee:

- Click on Attach when viewing the quote draft.
- Either Create file... or Upload a Document. If you create a file, then the standard Wordbee template will be used to fill in the quote details. You may also upload your own company template for populating the information.
- Preview the file (if desired) and then click on Save & Attach.
A Download option will then appear to the right of Quote in the pop-up window and can be used to download the attached quote either internally or by the client (if permitted). Click on Close to exit the pop-up window.

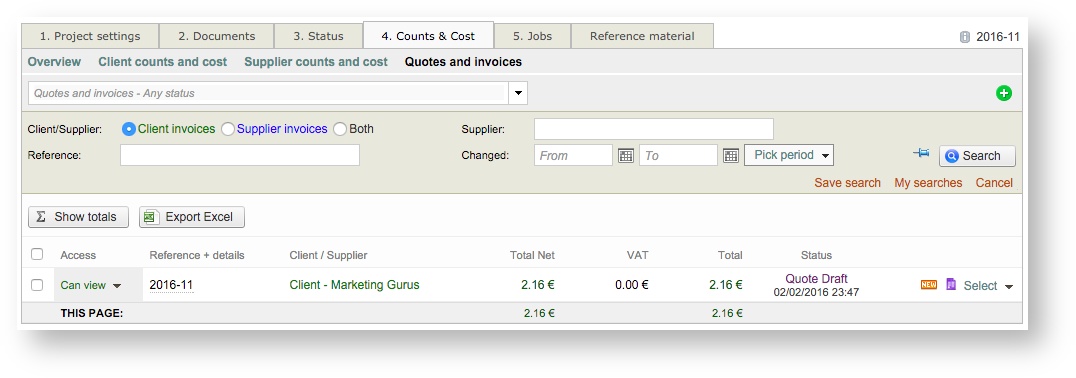
You will automatically be redirected to the Quotes and Invoices option on the Counts & Costs Tab where the quote will now be viewable. The Purple Document Icon next to the status shows that the quote has been attached and can be downloaded.
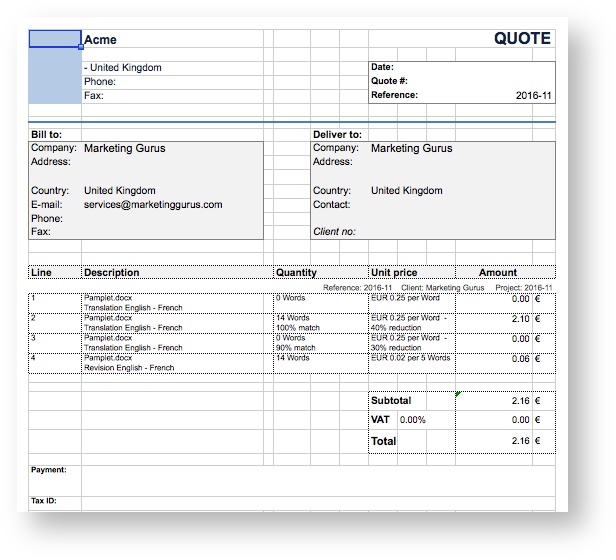
Quotes generated using the Wordbee template will be downloaded as an Excel File (.xlsx) or as a PDF File (depending on what has been chosen). An Excel File will appear similar to what is shown below:
Related content
Copyright Wordbee - Buzzin' Outside the Box since 2008