Client Invoices for Codyt projects
- Sara mendez
Creating quotes and invoices for clients is a 2 step process. Once the cost for the different activities is set, invoices can be created. Learn here how to handle each of these phases.
Setting the cost of the work done
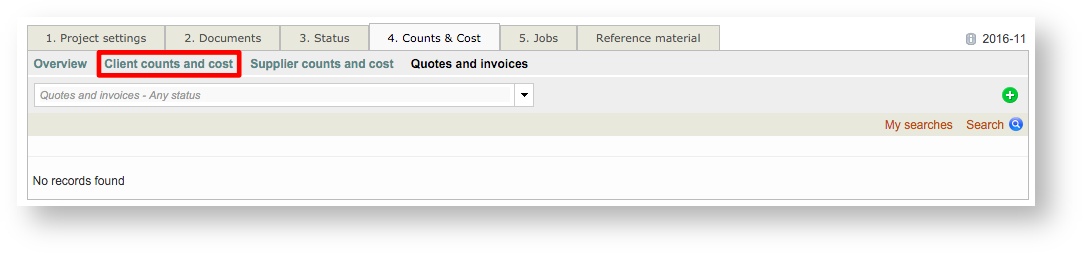
First, access the Counts & Costs Tab for the project. The tab Quotes & Invoices shows if there are any existing invoices for the project. If no invoices exist, the screen will appear as shown below.
To see the current cost of the work and create an invoice for a client, click on Client Counts and Cost.
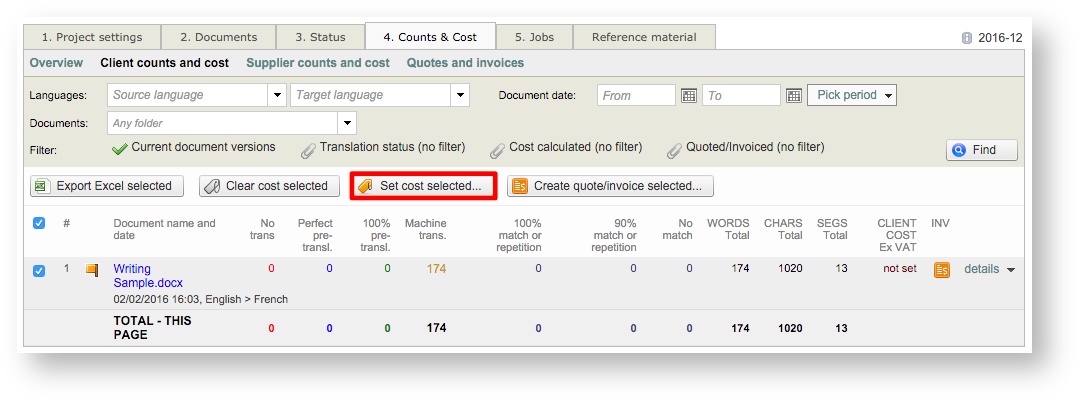
Then tick the checkbox for the appropriate item and click on Set cost selected... This will configure the cost for the document based on the performed tasks, total word counts, and any entered discounts for fuzzy matches.
Using the default client pricelist
If a pricelist has been pre-selected in the project for the client, then all you will need to do next is tick the checkbox for the appropriate item(s) and click on OK (# line).
However, when no pricelist is configured for the project, then the standard pricelist will be used automatically. To make changes to this information, click on Change in the Assign Price section.
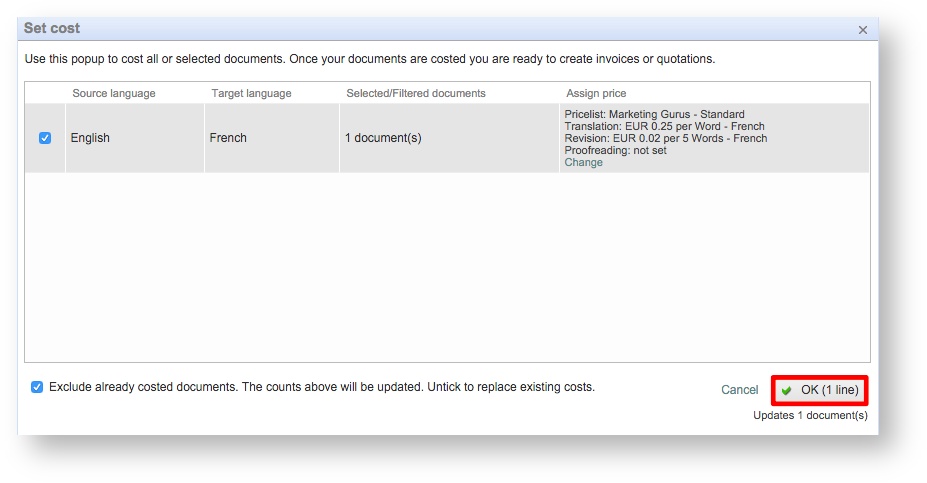
Here you may choose a different pricelist, change the assigned services, alter cost information, and enter a percentage of work covered by the client. Click on OK when finished. Then tick the checkbox for each required line as shown above and click on OK (# line).

Create an invoice
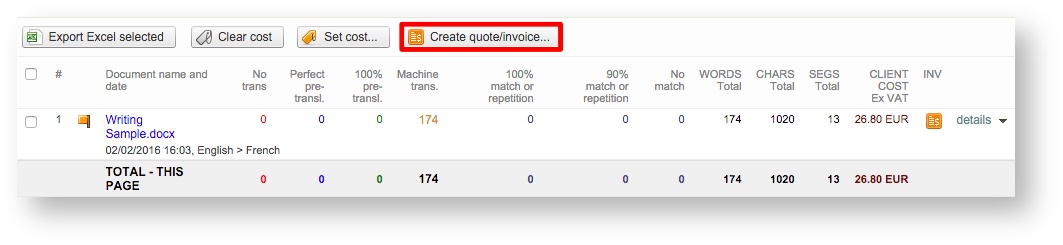
After the cost has been set, you will need to click on Create quote/invoice...
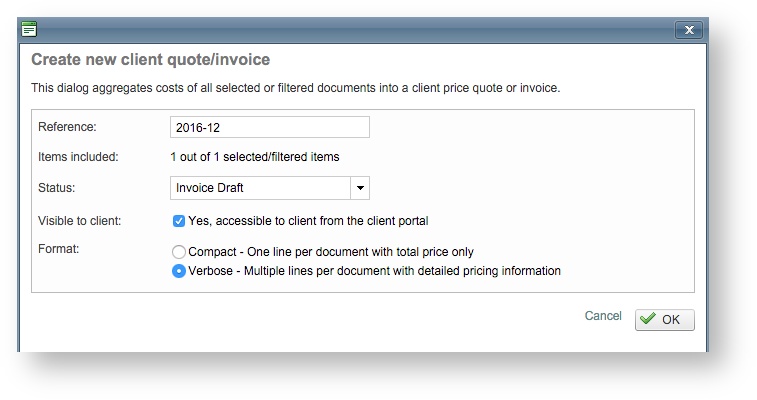
In the pop-up window, select Invoice Draft for the Status (or another applicable option in the drop-down menu). Next, tick the checkbox for the Yes, accessible to client from the client portal option if you have the client portal and you want the client to be able to view the costing information when logged in. The invoice may be generated in one of two formats:
- Compact - With this option, only a total cost line will be provided.
- Verbose - Every task and applied discount included as part of the document being invoiced will be displayed as separate lines in the invoice.
Click on OK once the configuration has been finished.
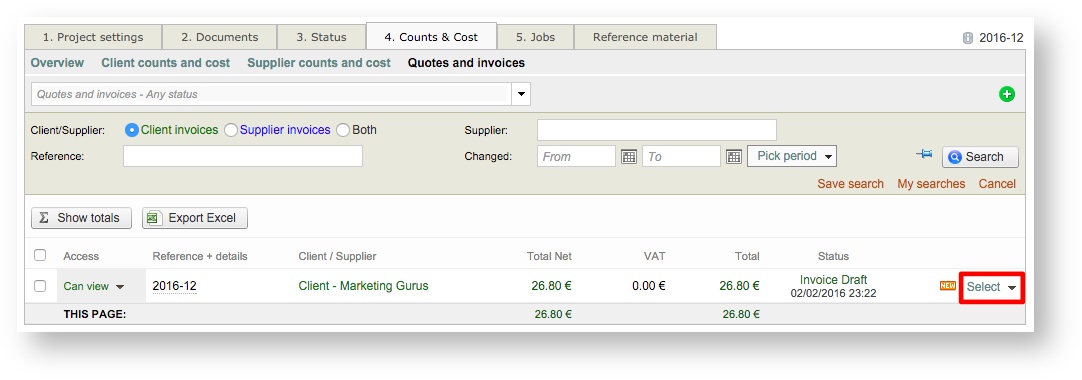
Now you will be able to see the invoice underneath Quotes and Invoices on the Counts & Costs Tab for the CoDyt project. The screen will automatically be refreshed after closing the above pop-up window.
See invoice details
For a given invoice, click on Select to view the details of the invoice.
Create an attachment with all invoice details
Do the following actions to finish invoice creation in Wordbee:
- Click on Attach when viewing the invoice. This will open a screen to create an Excel/PDF document with all details shown.
- Either Create file... or Upload a Document. If you create a file, then the standard Wordbee template will be used to fill in the invoice details. You may also upload your own company template for populating the information.
- Preview the file (if desired) and then click on Save & Attach.
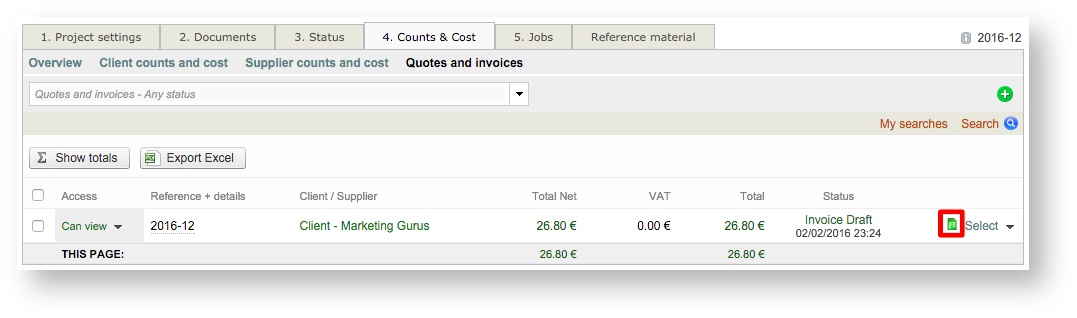
A Download option will then appear to the right of the Invoice and can be used to download the attached invoice either internally or by the client (if permitted). Click on Close to exit the pop-up window.

You will automatically be redirected to the Quotes and Invoices option on the Counts & Costs Tab where the invoice will now be viewable. The Green Document Icon next to the status shows that the invoice has been attached and can be downloaded.
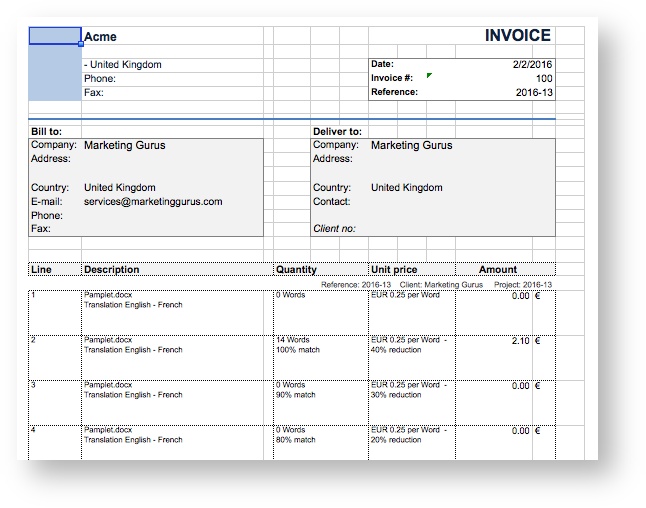
Invoices generated using the Wordbee template will be downloaded as an Excel File (.xlsx) or PDF File (.pdf). An Excel file will appear similar to what is shown below:
Edit the details of an invoice or add new charges/discounts
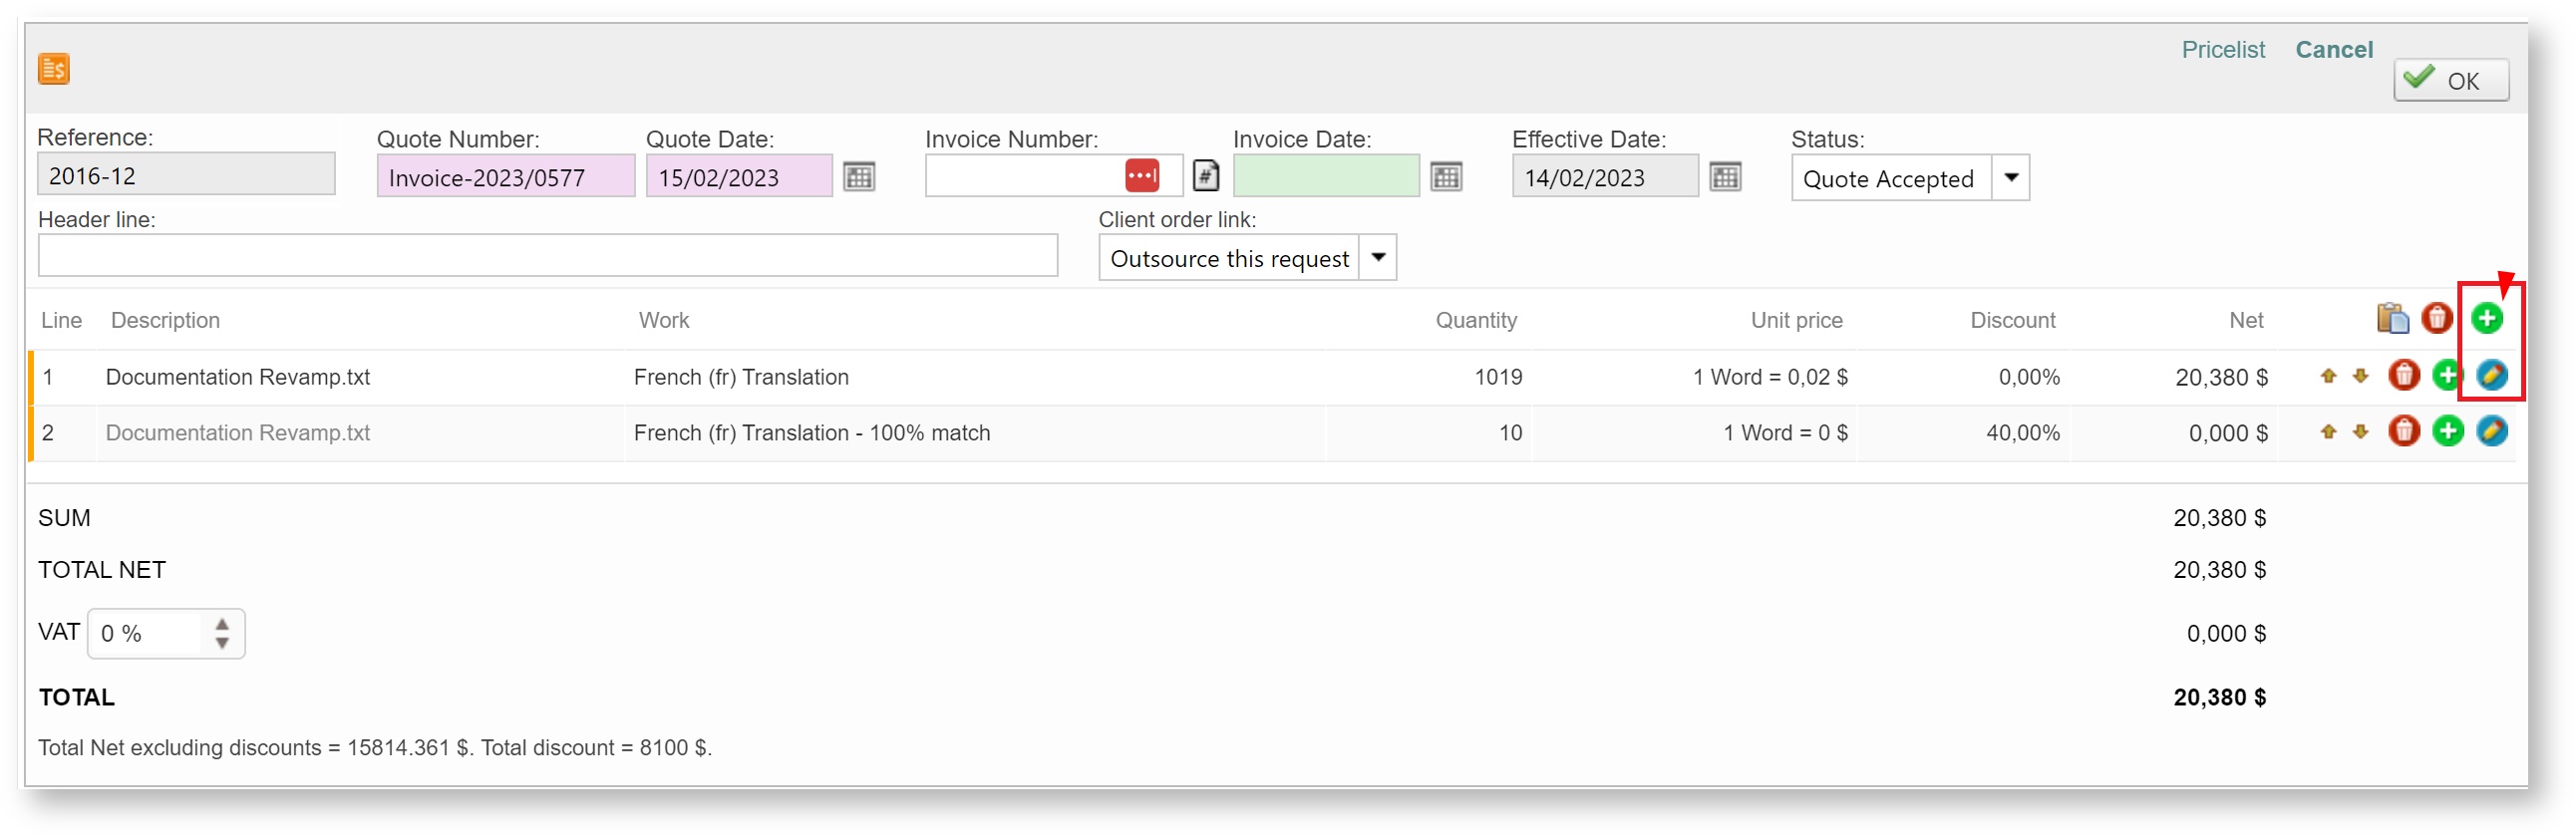
It is possible to edit the details of an invoice to adjust the description of a given item or include additional fees/discounts on the spot.
Just open the invoice you want to update, click on the pencil icon to edit an existing line, or add a new one to accommodate the new charges/discounts.
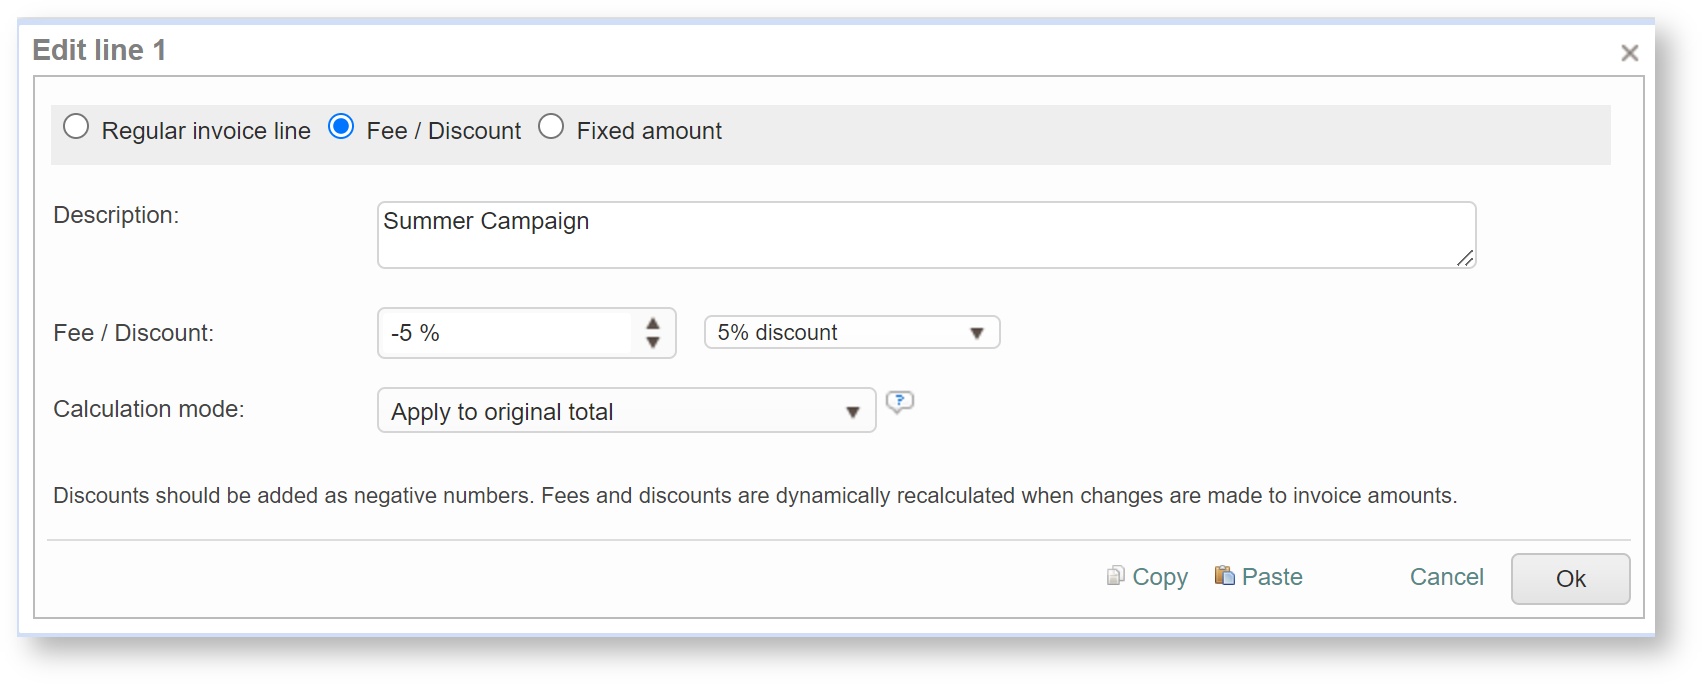
Once the screen with more details opens, enter the information related to the new charges/discount to be applied.
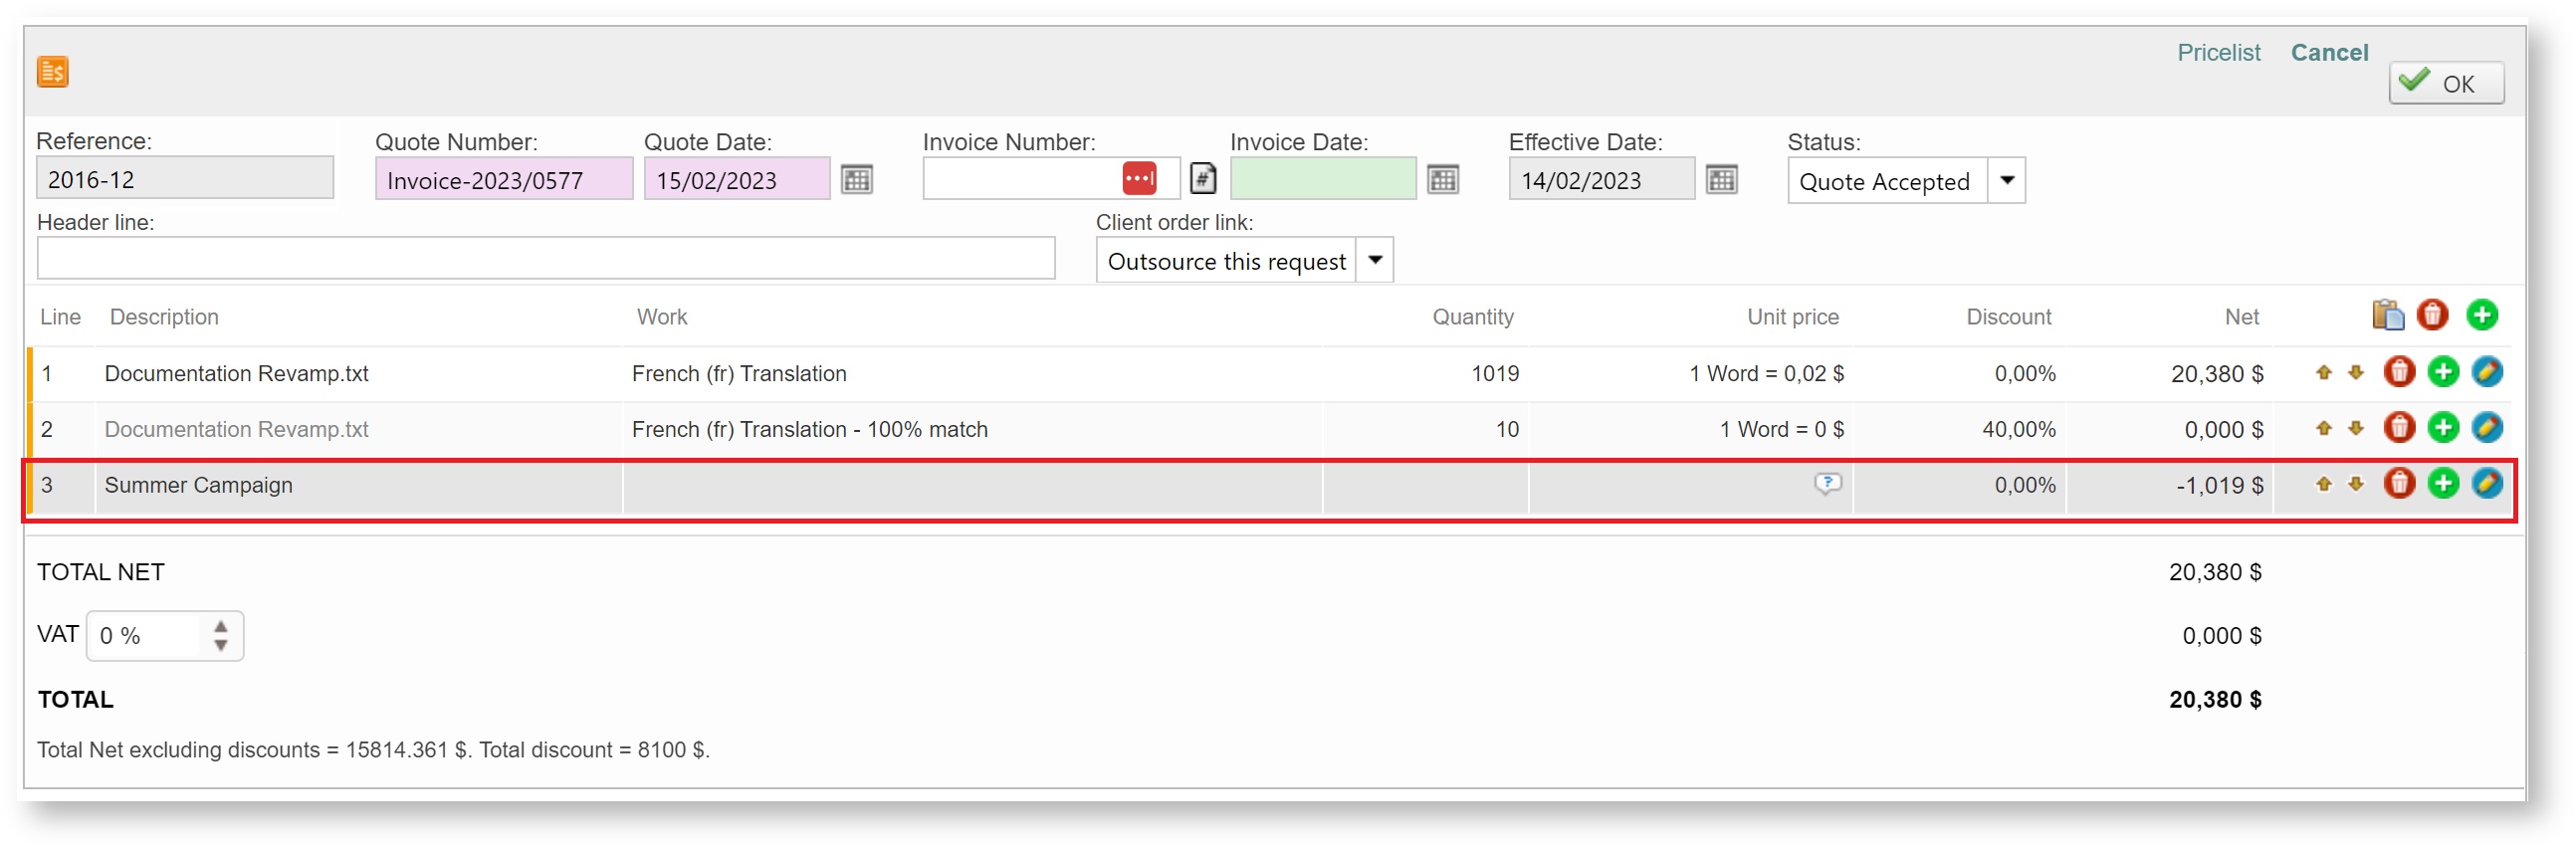
As a result, a new line will be added with the charges updated.
Related content
Copyright Wordbee - Buzzin' Outside the Box since 2008