Creating an Inhouse Login
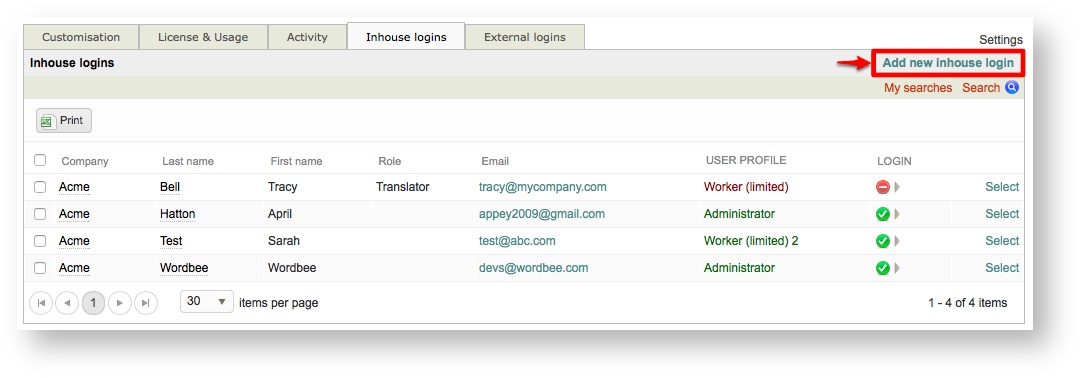
An inhouse login may be created by going to Settings > Accounts and Security > Inhouse Logins, clicking on Configure, and then clicking on Add New Inhouse Login in the upper right corner.
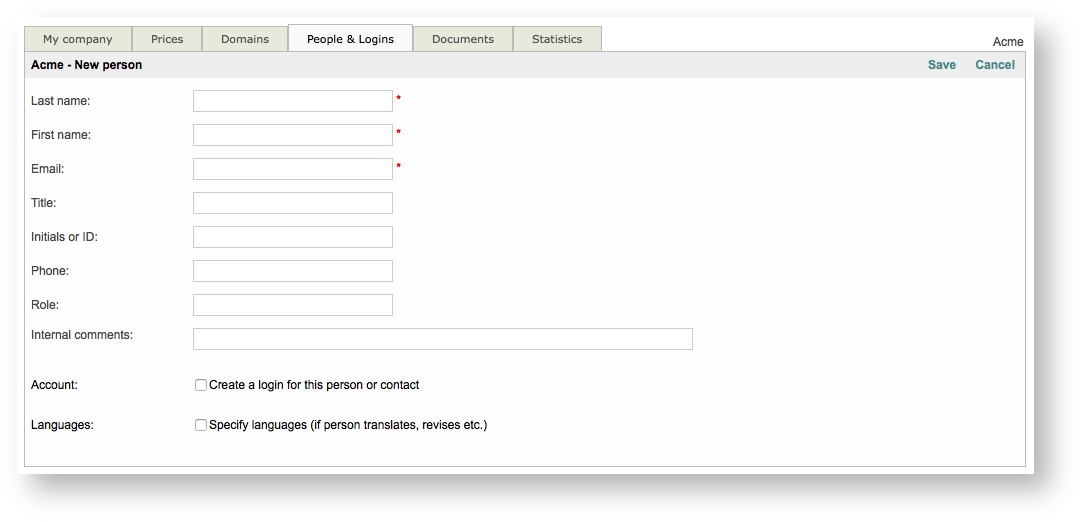
The screen for adding a new user login will appear as shown below:
The following sections may be used to add a new user and login to the system:
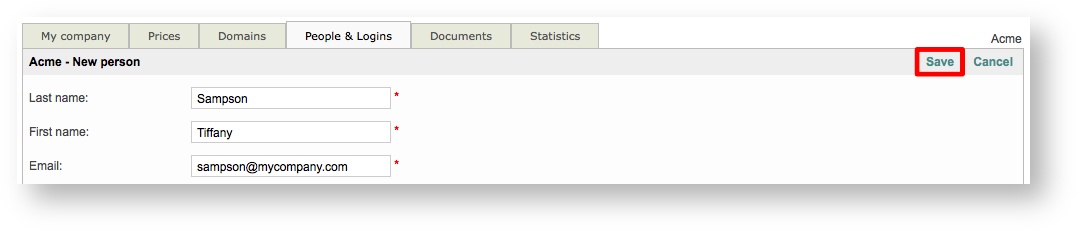
Enter Basic Information
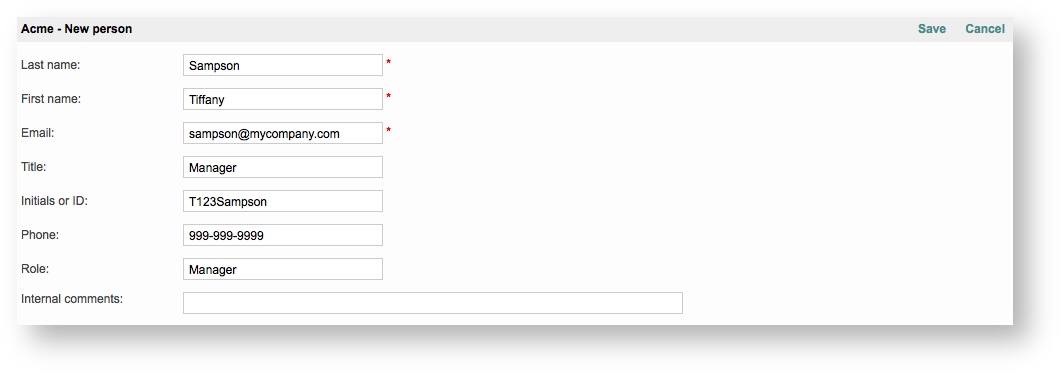
The first step will be entering the users basic information: First Name, Last Name, Email, Title, Initials or ID, Phone Number, Role, and Internal Comments.
To enter each, simply click on the field and type in the information. Only these items are required to add a new login:
- Last Name
- First Name
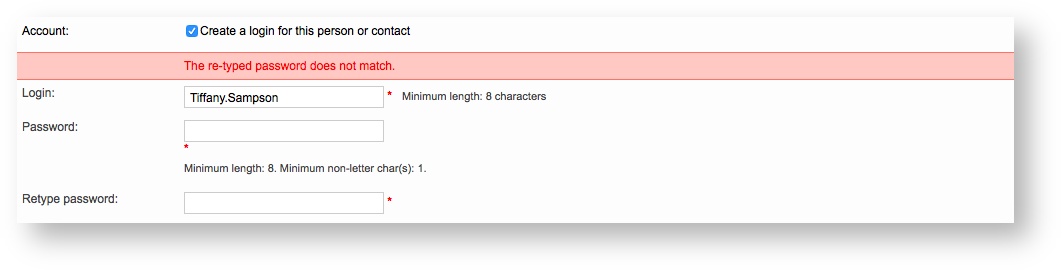
Create a Login
Next, underneath Internal Comments, you will see an option titled Account. Tick the the checkbox next to "Create a login for this person or contact".

The system will automatically generate a Login (ID) for the user; however, this information may be changed by clicking on the field and typing in another value.
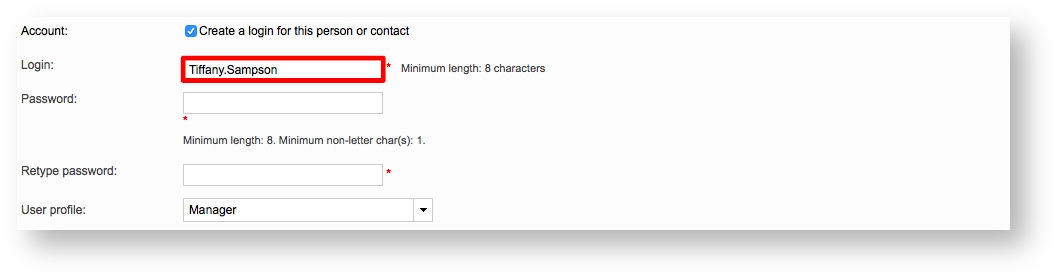
Next, enter a Password for the user and retype again to confirm. A visual indicator is provided to show the strength of an entered password.
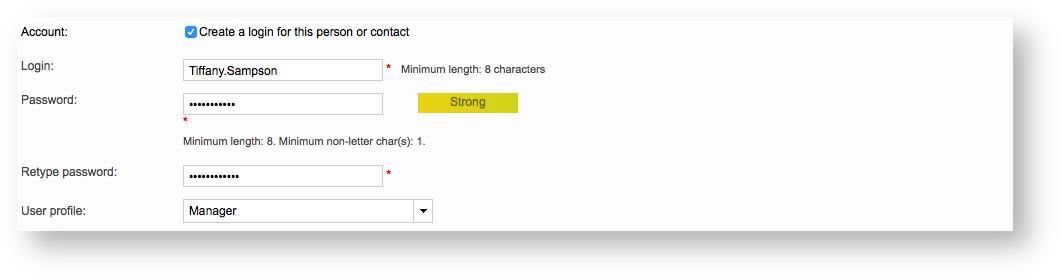
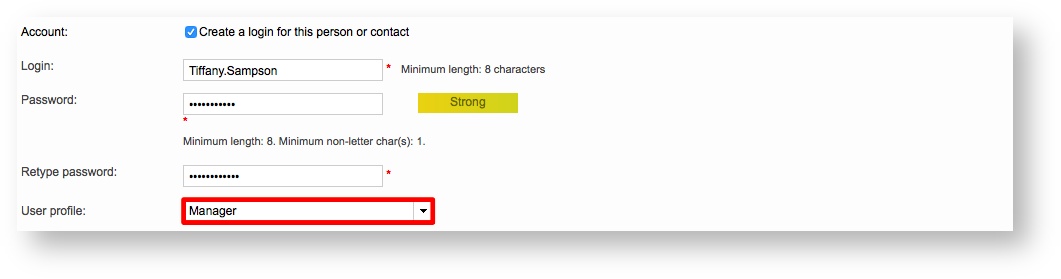
Then select a User Profile for the person the login is being created for. To learn more, please see Assigning Profiles to Users.
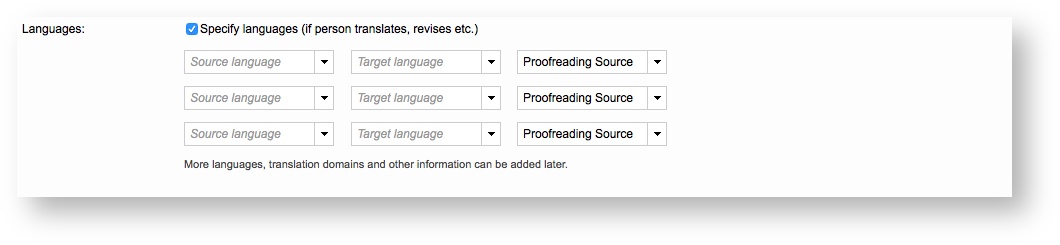
Specify Languages
Finally, you may also specify source and target languages for specific tasks the user will be performing. To do so, tick the checkbox next to the option titled "Specify Languages".

As many as three combinations may be entered in this section when creating a user login. Additional information such as more languages, translation domains, etc. may be added after you have created the login.
To configure the Source and Target Languages, click on the drop-down menus and choose the desired languages. In this example, English is chosen as a source language and French has been chosen for the target language.
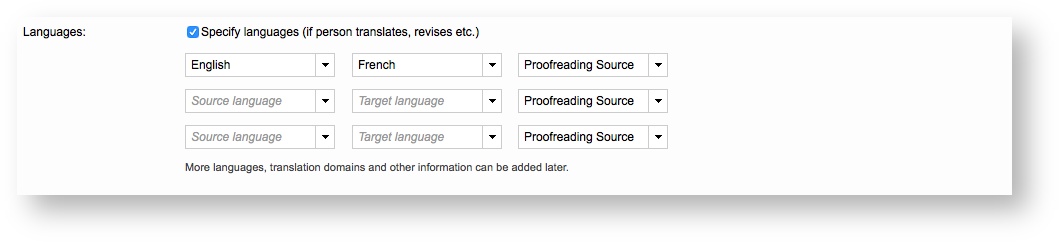
Then use the third drop-down menu to choose the task in which these languages apply for the new login. For this example, Revision has been selected.
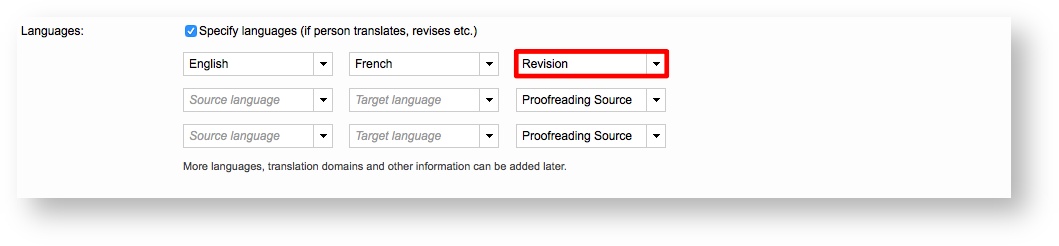
The same steps may be followed for the additional two lines provided in this section.
Save the New Login
After all information has been added and configured for the new login, click on Save in the upper right corner of the screen.
If a value is incorrect, you will receive a warning message and the login will not be saved. In this example, the passwords do not match. They must be entered correctly in order for the login to be saved.
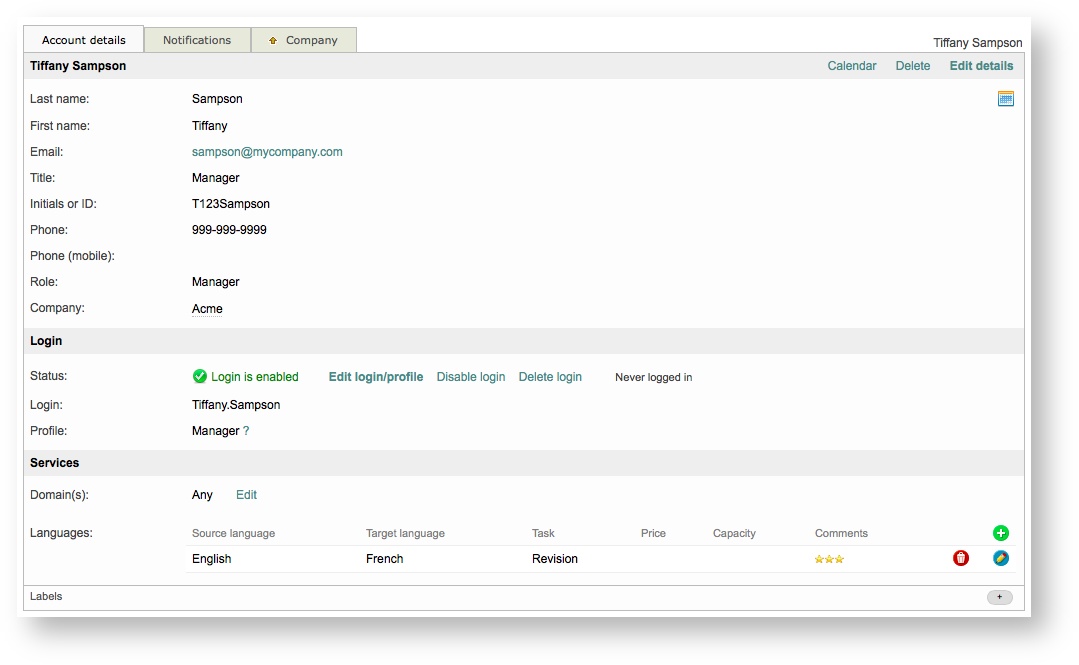
After saving, the user login will appear as shown below:
Click on the Company Tab to return to the list of existing inhouse logins for your company.

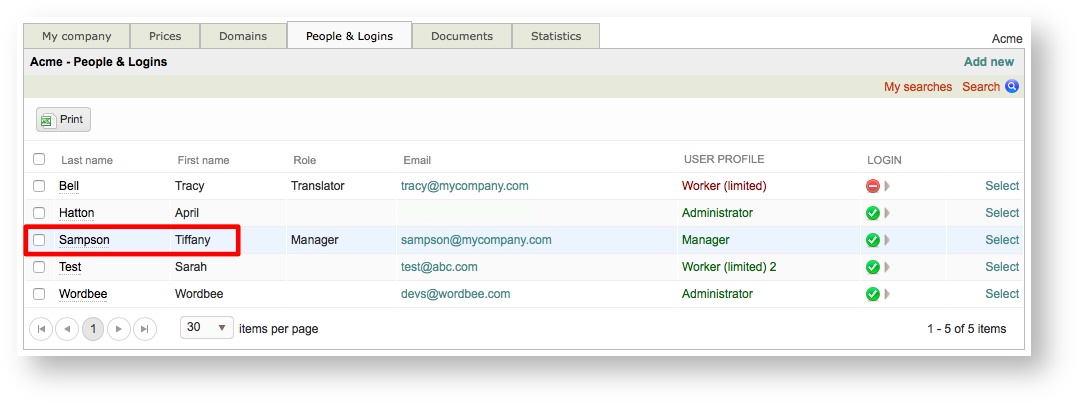
The new login will now appear in the list as shown below:
Copyright Wordbee - Buzzin' Outside the Box since 2008