Once the multiple column configuration has been completed, anyone performing the job will be able to view them in the editor.
All they have to do is open the job for translation, revision, etc. in the system.
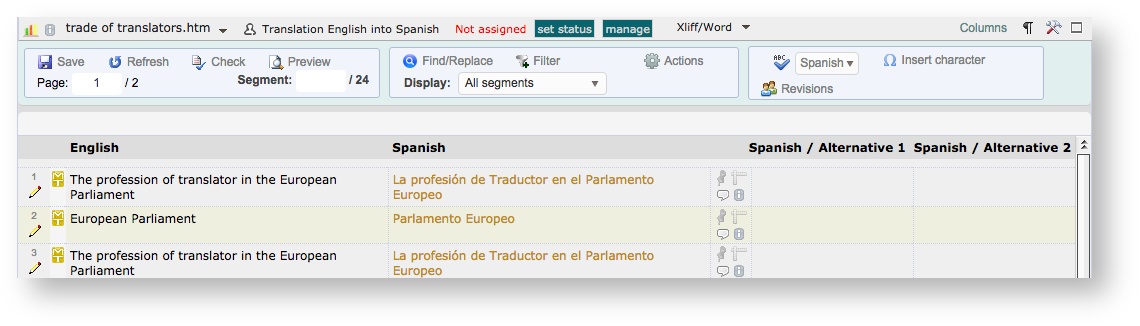
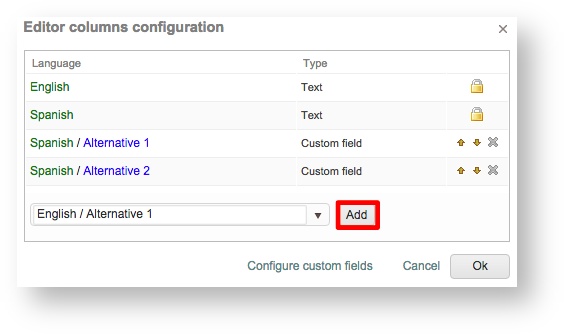
In this example, the additional columns correspond to custom fields and allow translators to propose alternative translations for segments.
Configuring Columns in Editor
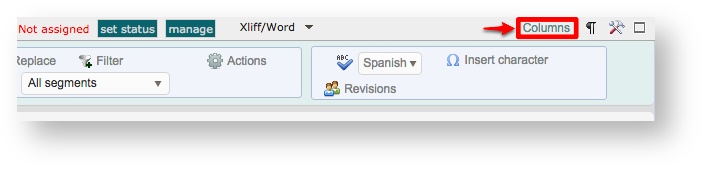
Each user accessing the editor for work is able to see the columns and can make configuration changes based on their profile access rights. The column configuration may be accessed by clicking on Columns at the top of the editor.
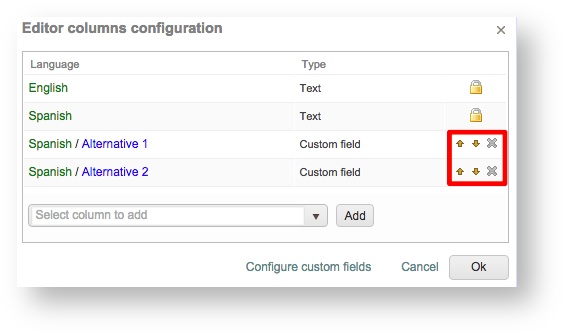
This will open up the same screen that is used to initially configure columns through Project Settings > Workflow and Suppliers. Each is able to alter what they see based on needs including:
- X - Hide the column.
- Up/Down Arrows - Change the order of columns.
- Add - Configure another column for the editor.
What is displayed in the column selection menu will depend on the profile access rights for the user accessing the job. For example:
- Project Managers - Able to see assigned columns plus additionally available ones.
- External Workers - By default, they only see the configured columns and may hide them or change the order.
However, if option 'Can View Translations in all Languages Beyond Job Languages' in the External Worker Profile is enabled (see Step 4 of Configuring the system to show metadata in columns in the CAT Editor), they will also be able to see other available columns outside of what has been assigned in the project within the drop-down menu.
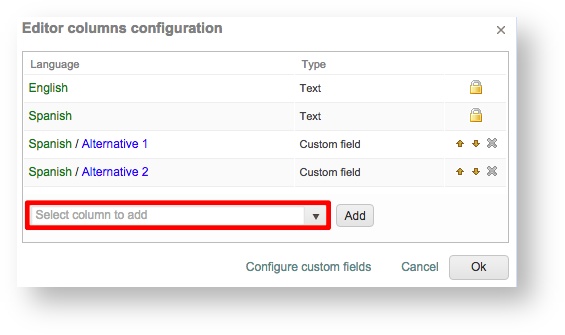
To add a column in the editor, select a column from the menu and then click on Add. It will be added to the bottom of the list and you can use the Up or Down Arrows to change the order in which it appears in the editor.