| Info | ||
|---|---|---|
| ||
1. Create Standard Project
| Anchor | ||||
|---|---|---|---|---|
|
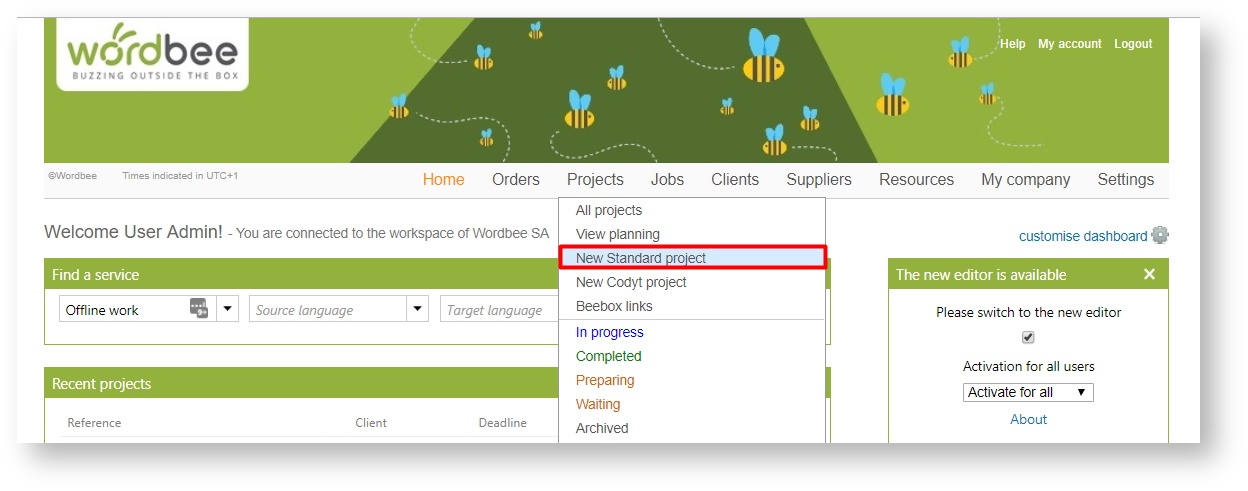
From the Home page, hover your mouse over Project's in the Menu Bar and Projects in the Menu Bar and then click on New Standard project in in the drop-down menu.
| Note |
|---|
You can also create a project by clicking on: New project on the Quick links panel of the Home page or on New project located on the upper right part of the Projects page near the search icon |
| title | Table of contents |
|---|
| Anchor | ||||
|---|---|---|---|---|
|
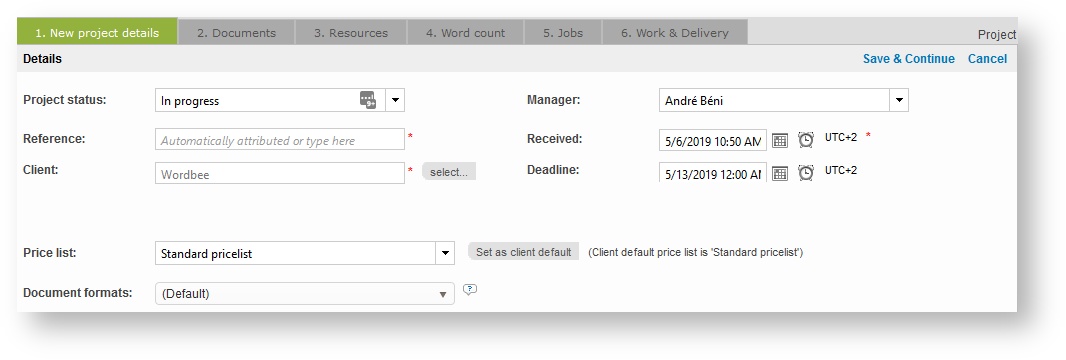
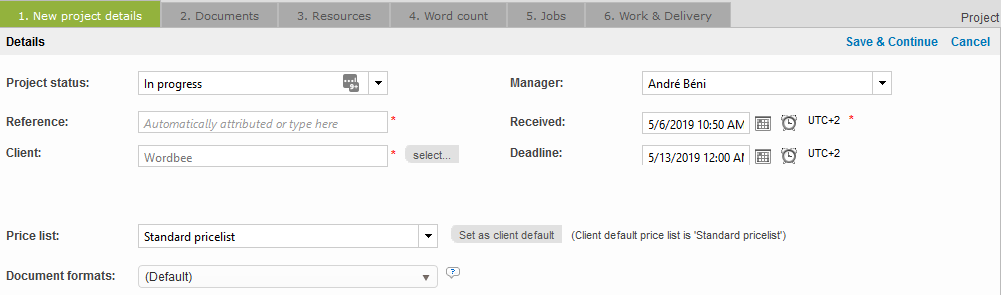
Next, fill-in the project details. This is always the first step and all other tabs will be disabled until you finish completing this page. All items with an asterisk are required in order to save the project. Once you have finished, click on Save & Continue.
Main project details
In the Details section you will find:
- Reference (Required): If you do not fill-in this field, Wordbee Translator will automatically generate a reference composed of the current year and a sequential number.
- Client (Required): You must select a client for the project, otherwise the default client will be chosen. To do so, click on Select and make a selection from the provided list.
- Price list: The price list will be used by Wordbee Translator to estimate the cost to translate the documents of the project and create the proposal that will be presented to your client. If a price list is not selected, then the Standard Price List will be used. For more information about creating a price list, see the Managing Clients section.
- Document Formats: This is optional and can be used to select a pre-defined file format configuration for the uploaded documents to be used during pre-translation. To learn more, see Supported Document Formats in the Features Section and Document Formats in the Administration Section.
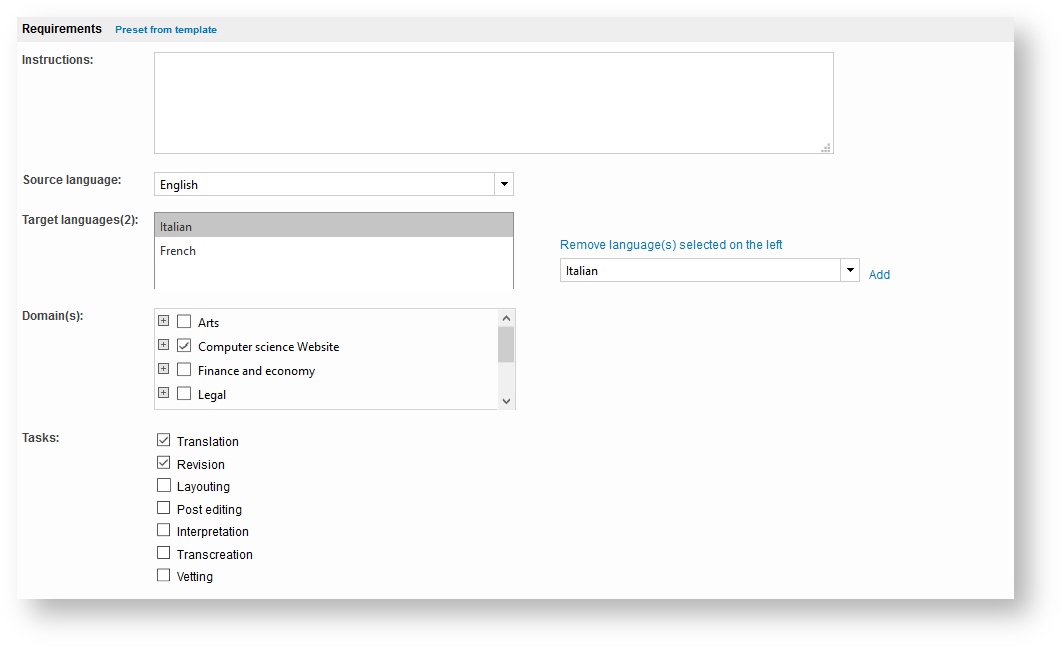
Wordbee Translator provides the ability to configure a template to be used for standard projects in the system. If one has been created, you may click on Preset from templates at the top of the Requirements section to select a project template among those registered.
Requirements
In the Requirements section:
- Instructions: Type in any instructions that need to be relayed about the project.
- Source language: In a standard project, there is only one source language. Click on the drop-down arrow to select a source language.
- Target language(s): To select a language, click on the field, type the first letter of the language, and the word will be completed automatically. Then click on Add to configure it as a target language for the project. More than one target language may be added by performing this step for each one.
- Domains: Field(s) of expertise according to which the documents will be classified (ex. data-processing, health, finances, and so on).
- Tasks: Jobs to be done within the framework of the project (translating, revising, etc…). Tasks are important if you count on wish to generating invoices/quotes at the end of your project.
| Anchor | ||||
|---|---|---|---|---|
|
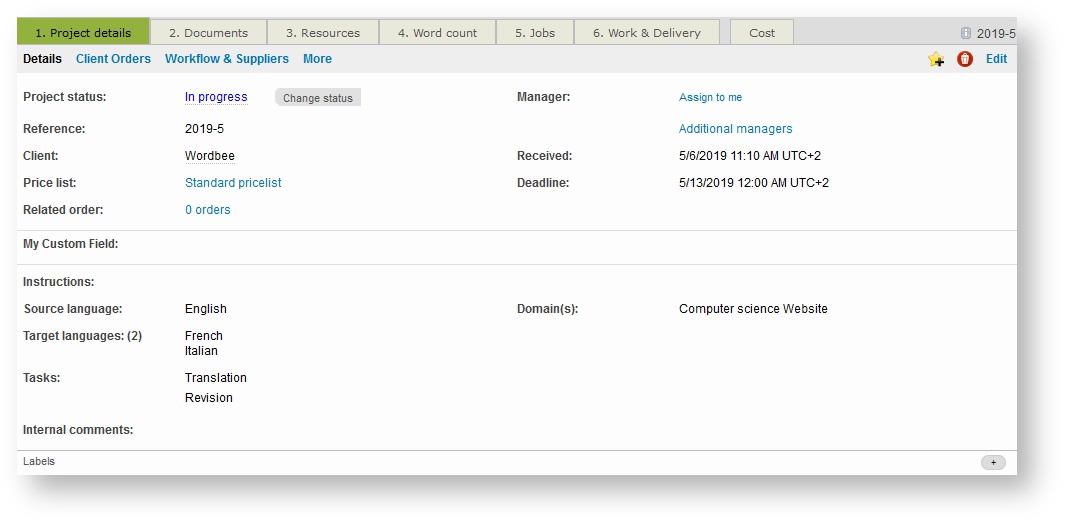
3. Confirm project creation
After clicking on Save & Continue, you will be able to view this information on the Project Details Tab when viewing the project in the system:
| Note |
|---|
If you are the administrator of the platform, you can customize the list of domains and tasks by clicking on Settings and then Configure next to one of the following in the Translation Settings section: |
Anchor Related Related
4.
Related| Related | |
| Related |
Learn more
| Panel | ||
|---|---|---|
| ||