This page describes how to add new rules or supported file formats to a Beebox project. We will focus on selecting rules from presets that are included with the Beebox. The further customization of the presets using XML or Wordbee Translator is discussed here: Customize Rules.
Click the Edit link in the project settings page (in top right of the page). The text extraction rule panel exhibits links to add or remove rules:
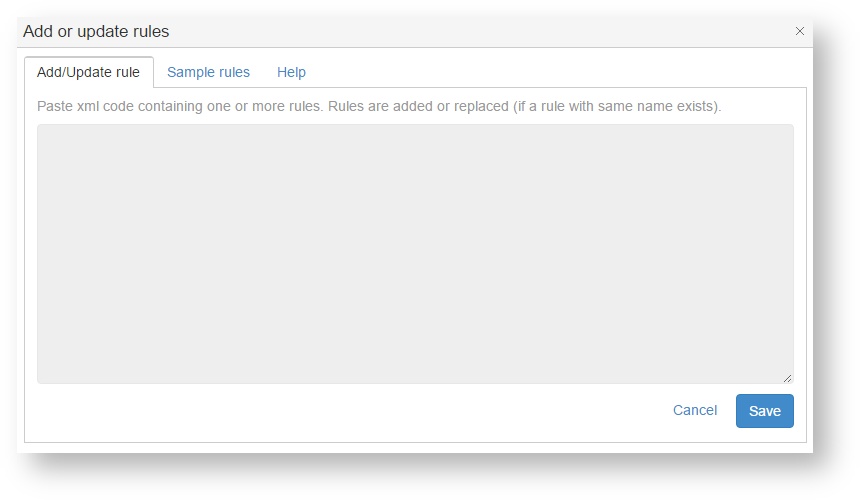
Click Add or replace rules to open this dialog:
The text-box above permits to directly paste XML formatted rule definitions.
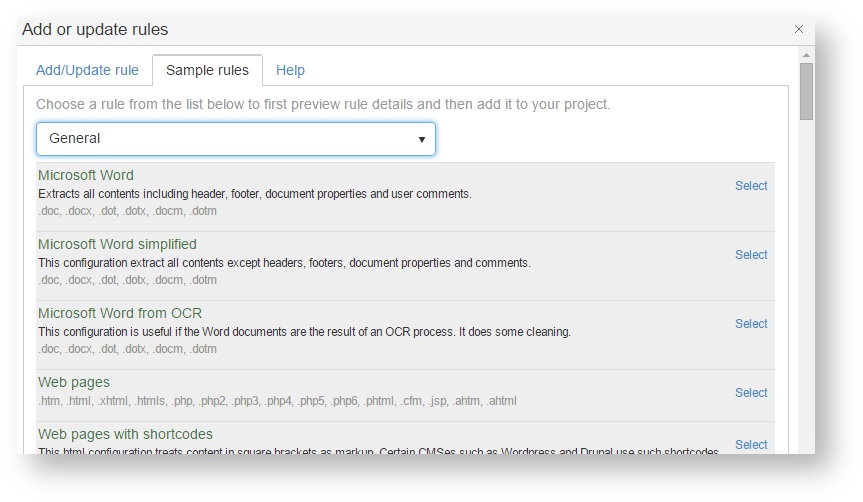
However, we skip this for the moment and click Sample rules:
You find a selection of commonly used rules.
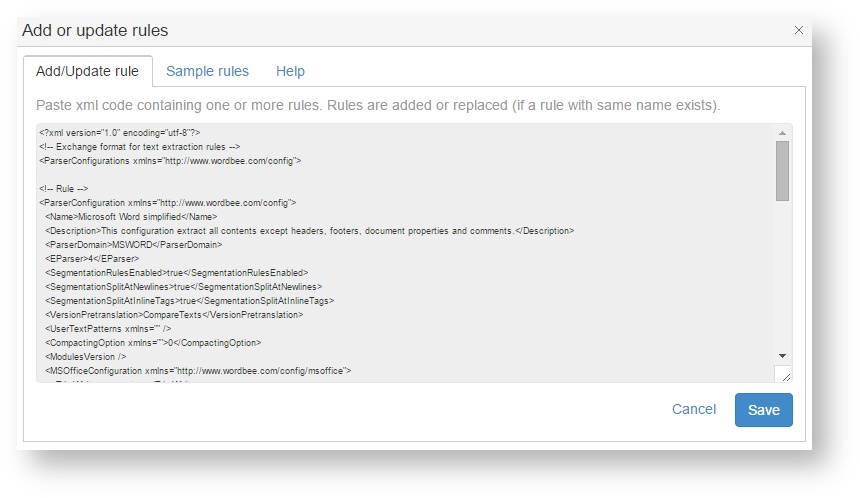
Click Select to chose the rule you want to add to the project. This now display the XML rule definition. We will come back to this format later on.
For this tutorial, we select Microsoft Word simplified. Contrary to the default Word rule, this one does not extract document properties, footers and headers for translation.
Click Save to confirm your selection. The rule list is now updated:
If we do not want two Microsoft Word rules, we remove the first one by clicking theicon:
Further reading
Learn how to customize presets to match your specific requirements:


