...
In order to get these credentials, please read take a look to at our first project documentation.
...
In order to translate content, you have first to add languages to your system.
This step have has to be done the first time you want to translate your CMS, or in case you further want to add a language.
- Select List in the sidebar, and select the root module (New TYPO3 site in our example).
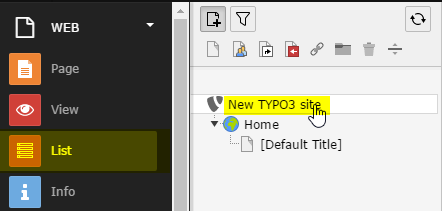
- Then, click to the Create new record button on the top bar.

- Select Website Language in on the list.

- Configure the language.


Your TYPO3 installation is now ready to support a new language.
Configure site languages
Enter the sites menu and choose Available Languages for your Site


Add tasks to the scheduler
All the operations are triggered using the scheduler. Then, you need to add the Beebox tasks to your scheduler.
- Select Scheduler in the side barsidebar

- Then, click the Add task button and select a Beebox task.

Repeat this operation for alls all tasks in order to have a fully automated workflow. A frequency between 300 and 600 seconds is recommended.
However, we also recommend the task "Resets Beebox Errors" is triggered manually, instead of using a frequency.
...
Firstly, you will have to create a Beebox Settings record in order to configure your Beebox credentials.
If you are not used to install installing Typo3 extensions, here are the following steps to create your first Beebox Settings record.
- Select List in the sidebar, and select the module (Home in our example) where you want to install the Beebox Settings record.
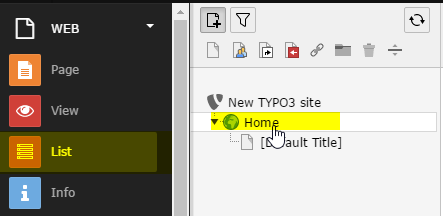
- Then, click to the Create new record button on the top bar.

- Select Beebox Settings in the list

Please see configuration for the next steps.
Configuration
NOTE : If you just created your Beebox Settings record, please directly jump to the third point.
...
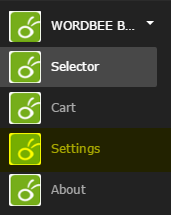
- Go to the Wordbee Beebox section, and select Settings in the sidebar.
- Select the module where a Beebox settings exists exist as a record.
Then, click on the edit button of the instance you would like to update.
- Configure the connector with the credentials you got from the Beebox interface.

- Check whether the connection is working properly.

Your Beebox is now connected and the connector is ready to use!
...
- Check the Beebox URL is correct. If the CMS and the Beebox are not hosted on the same server, make sure you used the public URL of your Beebox.
- Make sure the Beebox UI is working, by accessing http://localhost:8089 on the Beebox server.
- The connection between your CMS and the Beebox is dropped. Please check your firewall settings or contact your IT administrator.
...
The project does not exist

Explanations
The connector cannot find the project in the Beebox. The project key is not (or no longer) correct.
...
Double check the Beebox username and password. Be careful of the spaces before and after the password string.
Languages
Depends on your website configuration after translation, text can be automatically approved or wait for editor approval

Solution