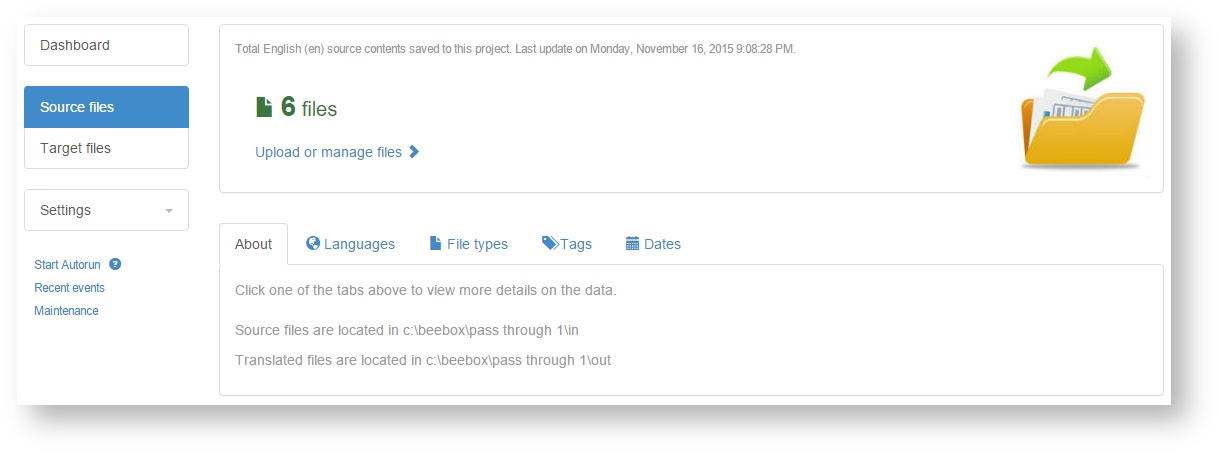
The source files page shows information about the source files added to the project.
Where are the source files located?
To add files to translate to a project you can simply copy them to the project "in" directory. The exact location is displayed in the page:
If you want to translate Word, Html, Xml, Json, Indesign or other files you simply need to copy them to the project "in" directory. Alternatively, content can also be sent with the Beebox Web API. This is e.g. done when translating content management systems: The CMS plugin will communicate with the Beebox and content like pages, titles etc. ultimately end up as xml/json/html files in the "in" directory. Exactly as if you had copied them manually.
Advanced features:
You can optionally include meta information (deadline, hyperlinks, instructions...) and text extraction rules (how to extract content) with each source file. Read more in these chapters:
- Folder and File instructions : Specify deadline, workflow instructions and meta information.
- API - Send text extraction rules : Include specific text extraction rules with each source file (thus overriding the general rules).
Upload or manage files
If so enabled in the Automation settings, the Beebox will periodically scan the "in" directory for new or changed source files.
If automatic scanning is not enabled, you have to run a scan manually:
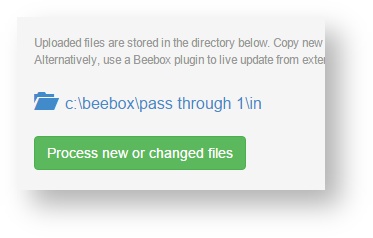
- Click Upload or manage files. The options below are shown:
- Click Process new or changed files to have the Beebox find new and changed files in the "in" directory.
Languages Panel
Groups the files that need to be translated into the different project languages. If you add 6 files to the "in" directory and your project has three target languages, then this screen will show 6 files per target language.
Using "instructions files" it is possible to specify the target languages individually per source file. However, by default the Beebox will work to translate all files into all project languages.
File Types Panel
Shows files grouped by file extension:
Tags Panel
The project settings page permits creation of "tags". A "tag" is a regular expression on file names. If a tag regex matches, the file is assigned the tag. A file can have many tags at the same time.
In the example below, no tag is yet configured:
Dates Panel
Groups all files by their last modification date. This gives an overview of the different dates the files were added to the project:


